Follow these instructions for implementing a stamp:
Select any Tiff or PDF within the database.
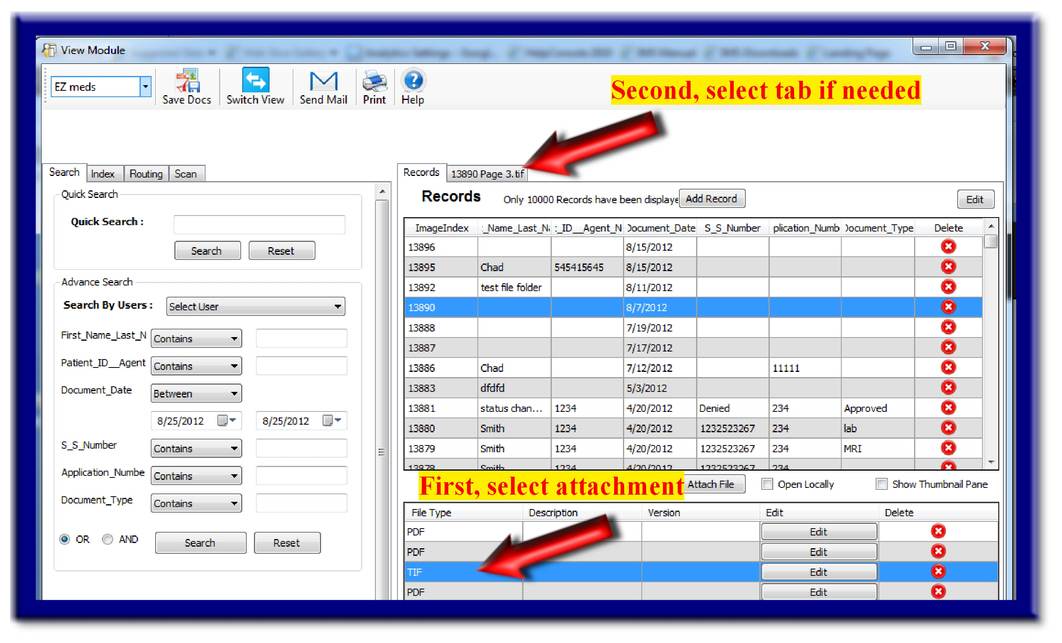
First you will need to open your View Module, locate a record, and select the record's attachment.
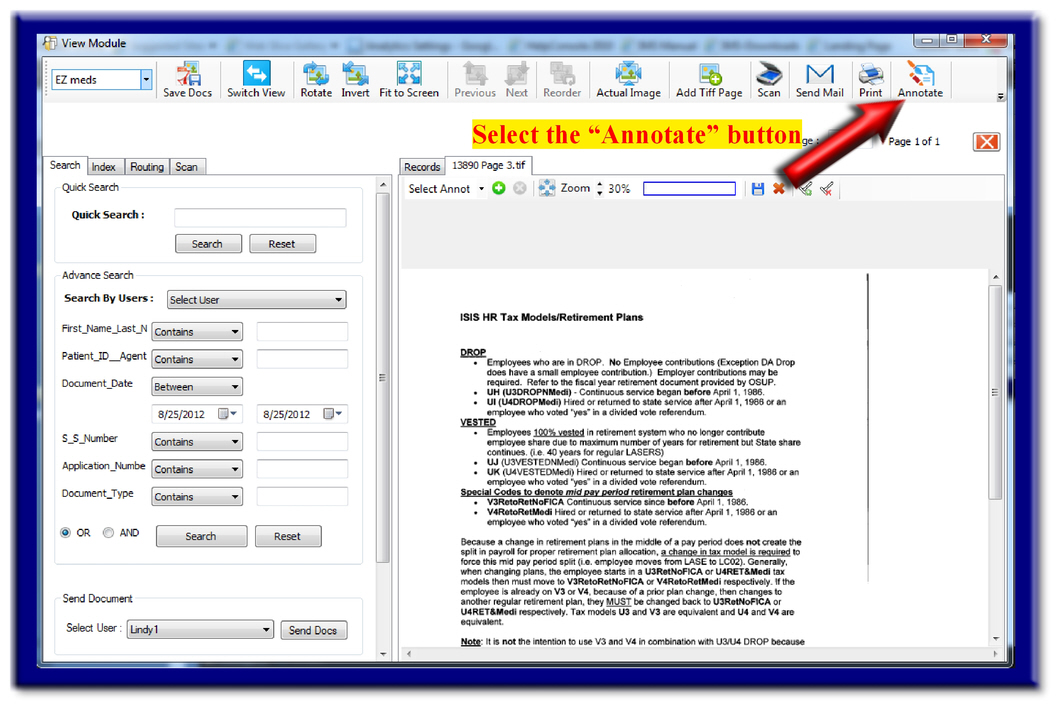
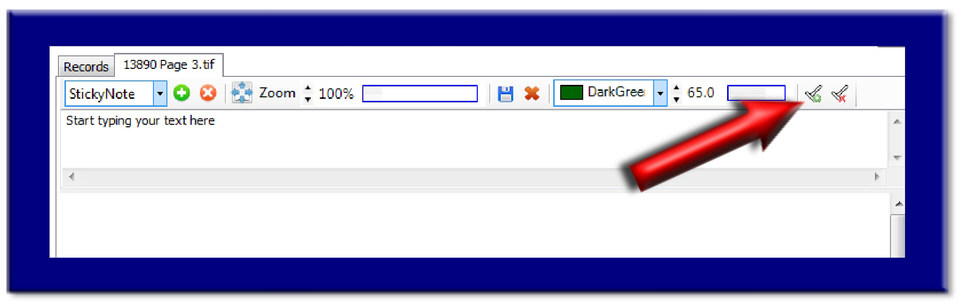
Select the stamp icon with a small green plus symbol.
Create Stamp
Creating a stamp is simple. The hardest part is either aquiring a stamp or creating your own stamp.
The actual stamp is simply a digital image. This digital image can be a picture, drawing, clipart, or even a scanned image of your handwritten signature.
NOTE: A couple of ideas for finding stamps, would be to use a software program like Microsoft WORD using the clipart features. You can also find companies to create a design from scratch or purchase a ready made design to purchase (ie: www.iclipart.com ).
Follow these instructions for implementing a stamp:
Select any Tiff or PDF within the database.
First you will need to open your View Module, locate a record, and select the record's attachment.
Select the stamp icon with a small green plus symbol.
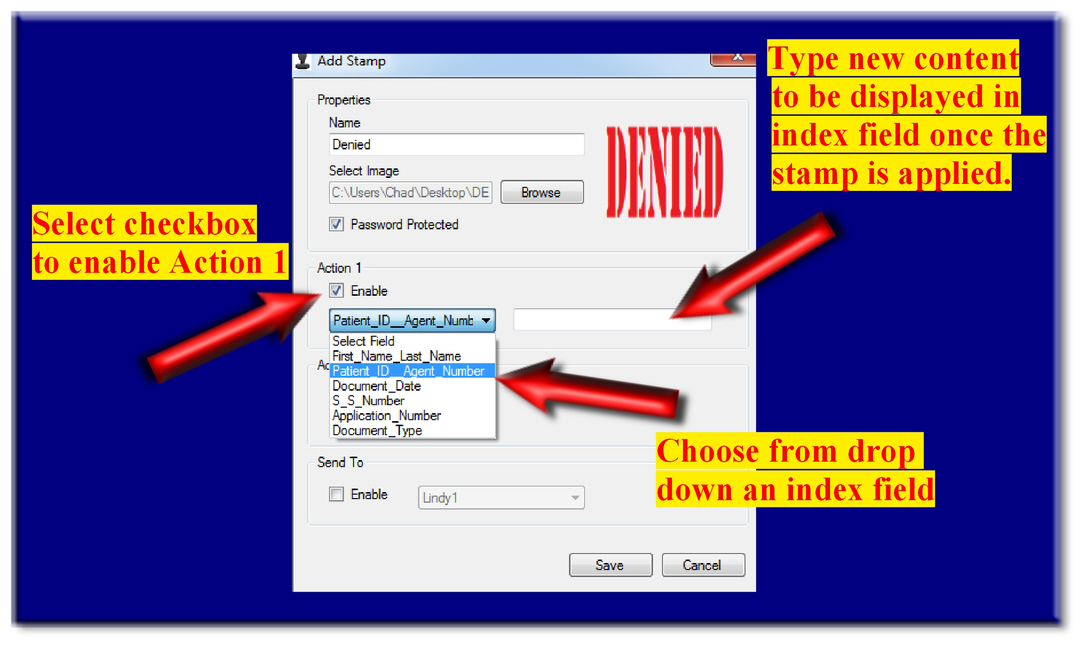
You will notice the below window. Give your stamp a name and browse for the image you would like to make into a stamp. You can now select the check box for "Password Protected" if wanting to require a each user to confirm his/her username and password each time this stamp is applied.
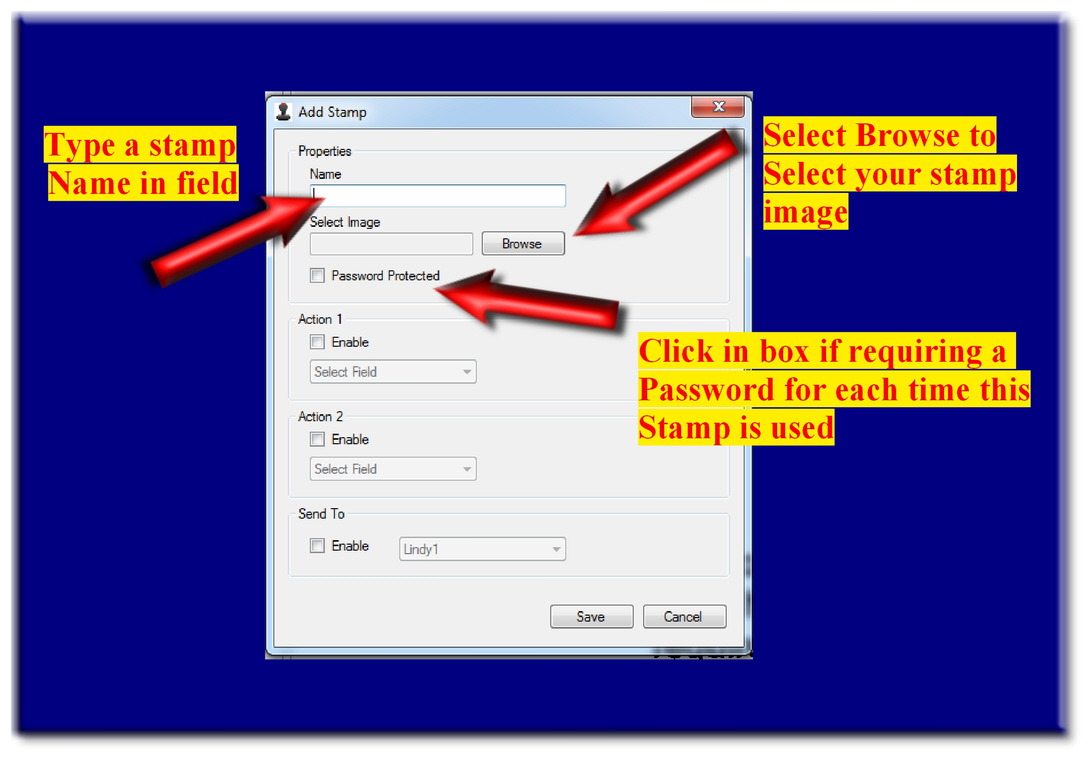
You may now choose to enable "Action 1" for this next step. Enabling action 1 allows the status or content within one of the searchable index fields to change. You are offered up to two (Action 1 & 2) field changes each time this stamp is applied.
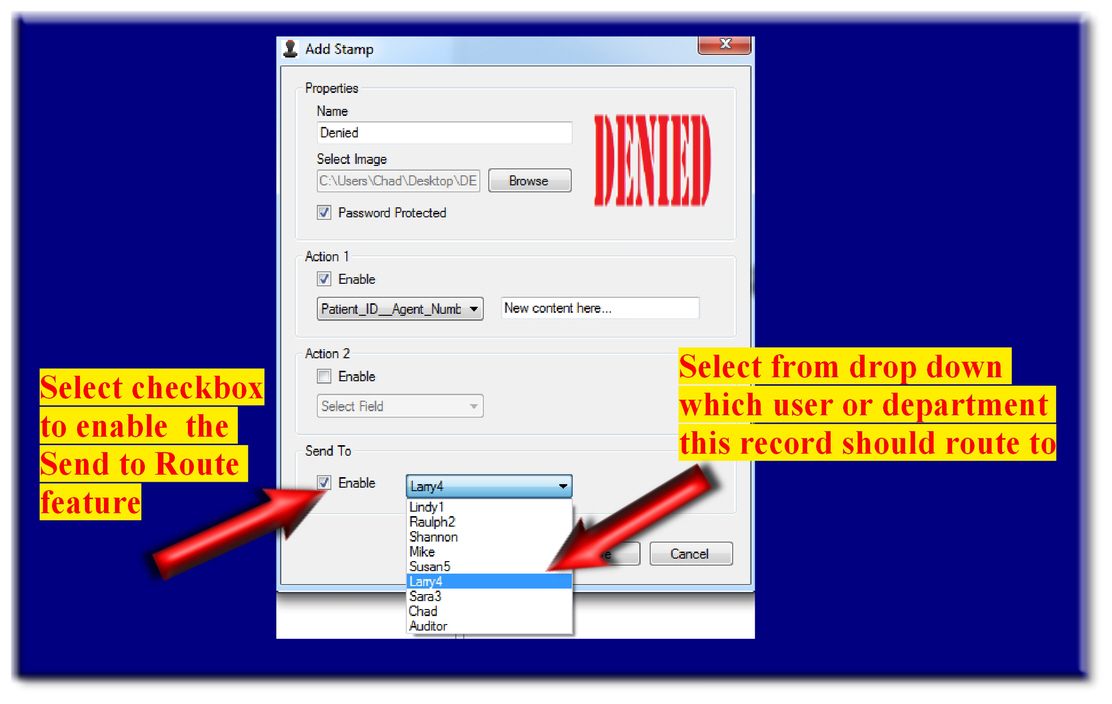
Lastly, you have an option to redirect this record to the "Route" feature. Click here to learn more about the "Route" feature.
This automatic response to send this record to the Route feature will be sent to either a user or a department.
NOTE: To create a department, you simply create a user, giving it a department or group name. This user/department/group account may be shared by one or multiple people.
After selecting the "Save" button, the above box will close. You have completed the creation of this stamp and ready to apply.
Learn how to apply this stamp by selecting under the see also section below:
See also