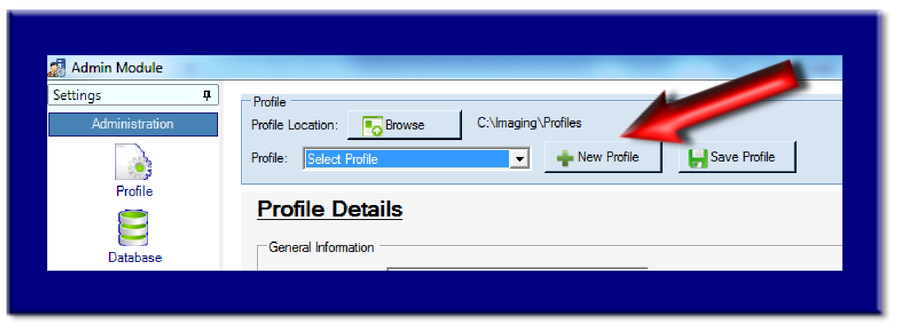
Create a new Profile
Select the "New Profile" button
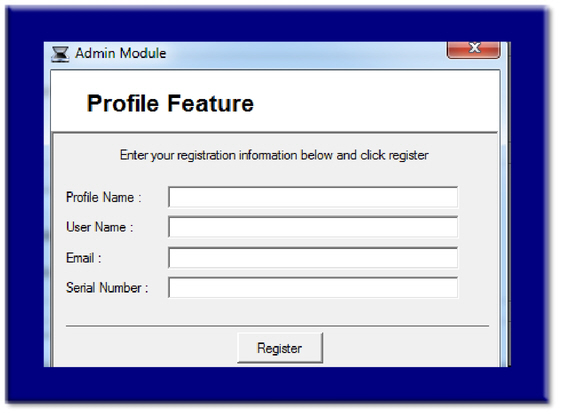
You may be prompted to enter a license key to proceed. If so, you must enter your license key and other field details, then select the "Register" button at very bottom of window.
Please note that Profiles require license keys, typically sold in single or bulk quantities.
Once you have selected the "Register" button, you will now notice the name entered within the license key picture above, is now automatically insterted (see arrow below) within the Mangement Interface.
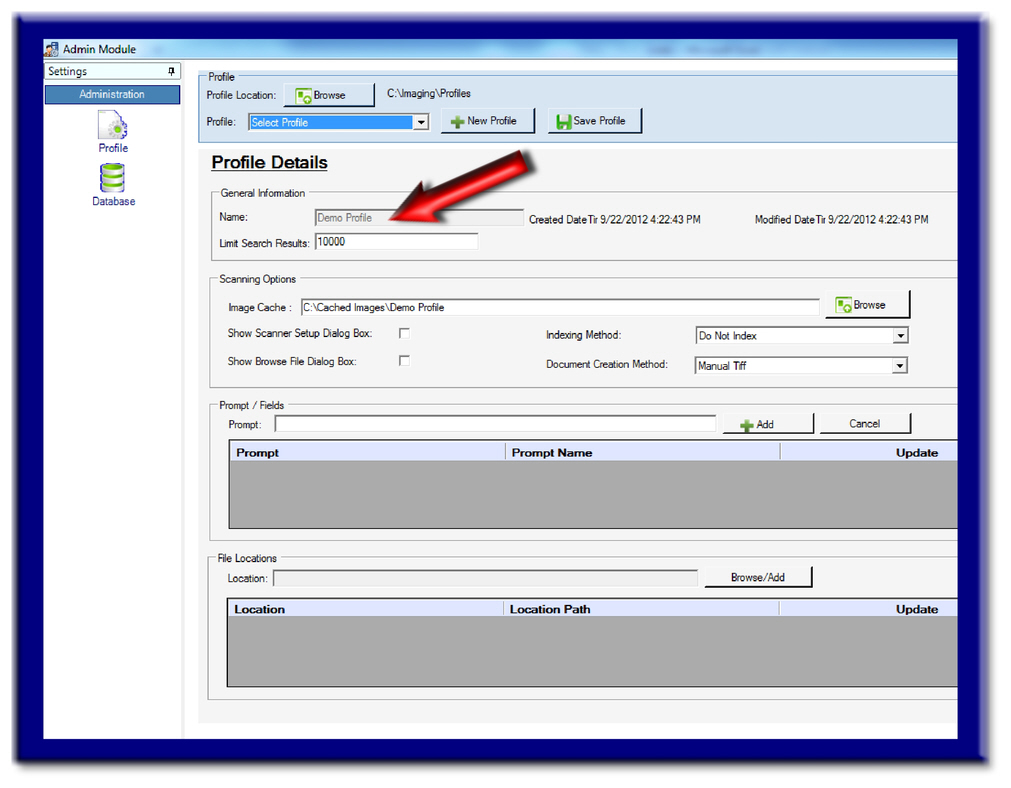
Set the scanning options
By default, you will find the following path inserted:
C:\Cached Images\your profile's name here
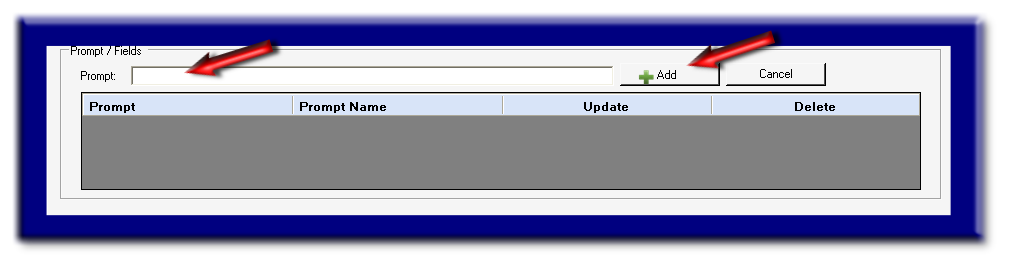
Create Your Index Fields
Now you will create your Prompts or Index Fields. Think of each field as the keywords you will assign to each document.
Type the Field Name within the "Prompt" field, then select the "Add" button.
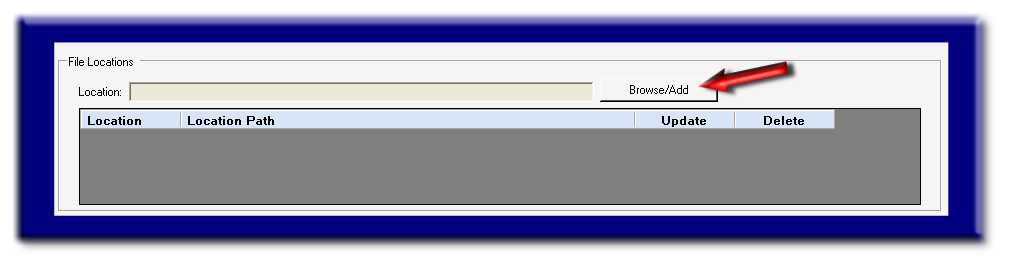
Set the Storage Location
You will now need to add the File Location; which is the final storage location for each document placed in this Profile.
If you add more than one location, all new documents added to the database will be added to the last created location.
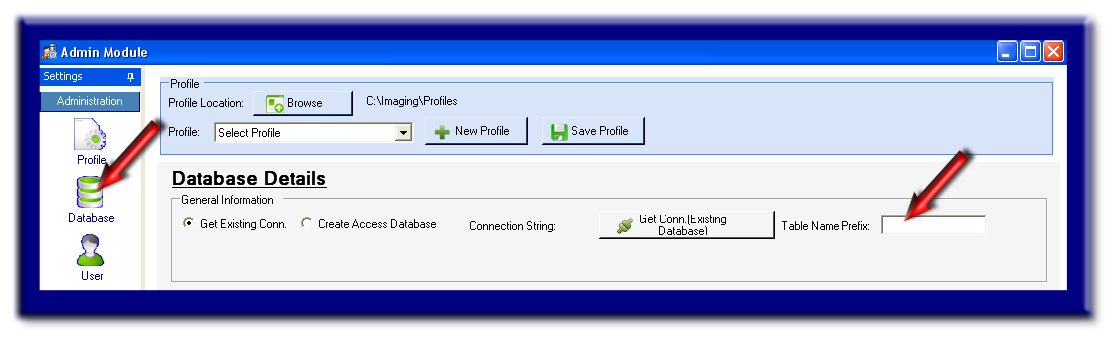
Create The Database
Select the "Database" icon (far left).
Option A
If you have an existing database you prefer IMS to use, Select the "Get Existing Conn." radio button. Then Select the "Get Conn. (Existing Database)" button.
Option B
If you prefer IMS to create it's own Access database, Select the "Create Access Database" button.
Enter a name within the empty database box, which is typically the exact name of the Profile.
Enter the Table Name Prefix, which is typically the exact name of the Profile.
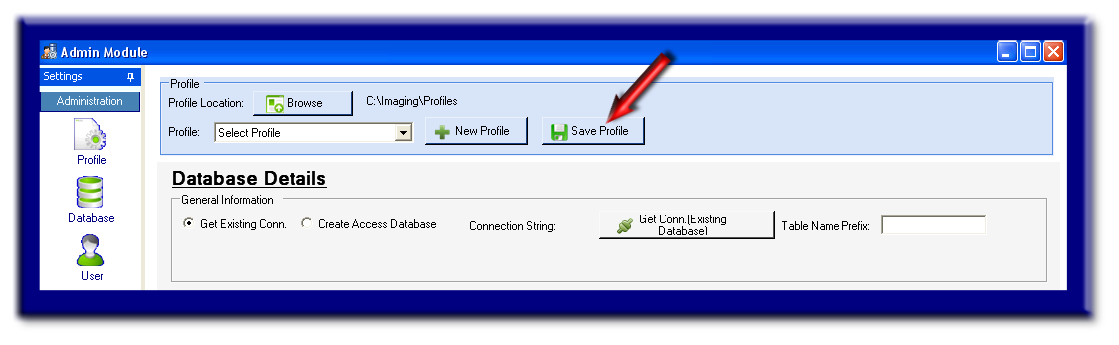
SAVE Profile
Lastly, Select the "Save Profile" button.
Conclusion
You have just completed the basic steps to creating a Profile.
Feel free to explore additional features or setting for this profile found within the below sections of this Help Center: