Please note: There are 3 methods for creating a record. Each of these methods may or may not require manual indexing.
Batch Scan
This is a completely hands on process, requiring an individual to assemble paper documents in some type of systematical order and preparing the paper to be scanned. Once scanned, these documents are electronically moved from the Batch Scan Module to the IMS-Database. The individual scanning will determine which Profile to send these document.
Make Documents
Any user given user security rights to use the Make Documents feature, will also have an opportunity to use the Index feature.
Import
Import collects documents, images, and electronic files of any type. These documents may come from the Batch Scan process for bar code reasons, from a copier/MFP device, other software applications, or many other scenarios. These electronic files may have metadata for autopopulating all or some of the index fields. Import at the very least will send an electronic file with or without the fields being auto populated into the correct Profile for manual indexing if needed.
STEP 1
Open the View Module and select the Profile you desire to index.
STEP 2
Within the View Module, select the Index Tab (see image 1).
STEP 3
You now have 3 options for viewing items needing to be indexed.
Option A: Simply work with all un-indexed records within the Documents Viewing Screen.
Option B: Choose to only view scanned images by user (see image 2).
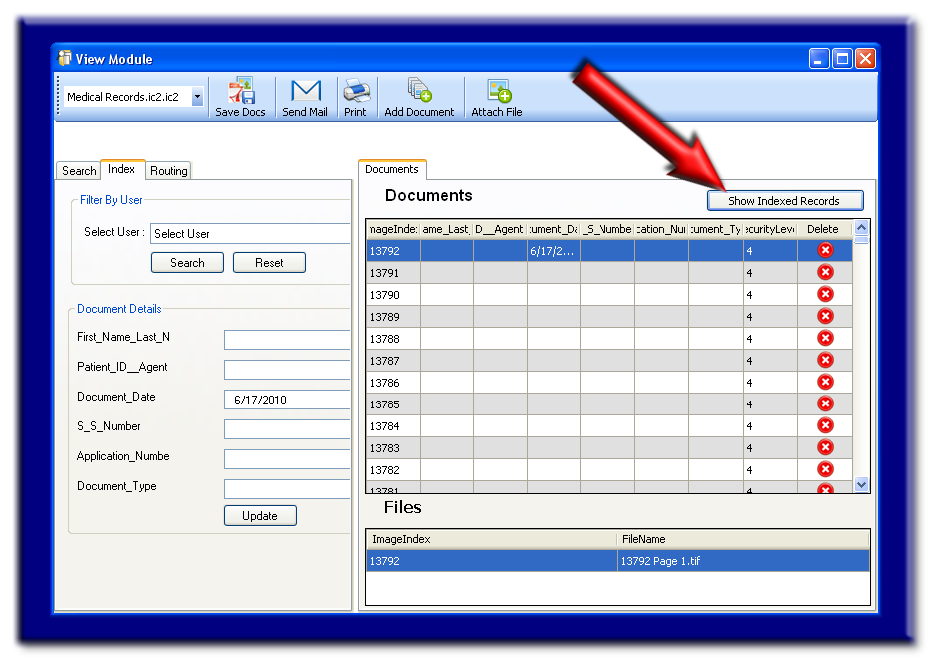
Option C: Select the "Show Image Indexed" records button (see image 3), which allows you to view the entire database for empty fields.
Select one of the above options (A, B, or C).
STEP 4
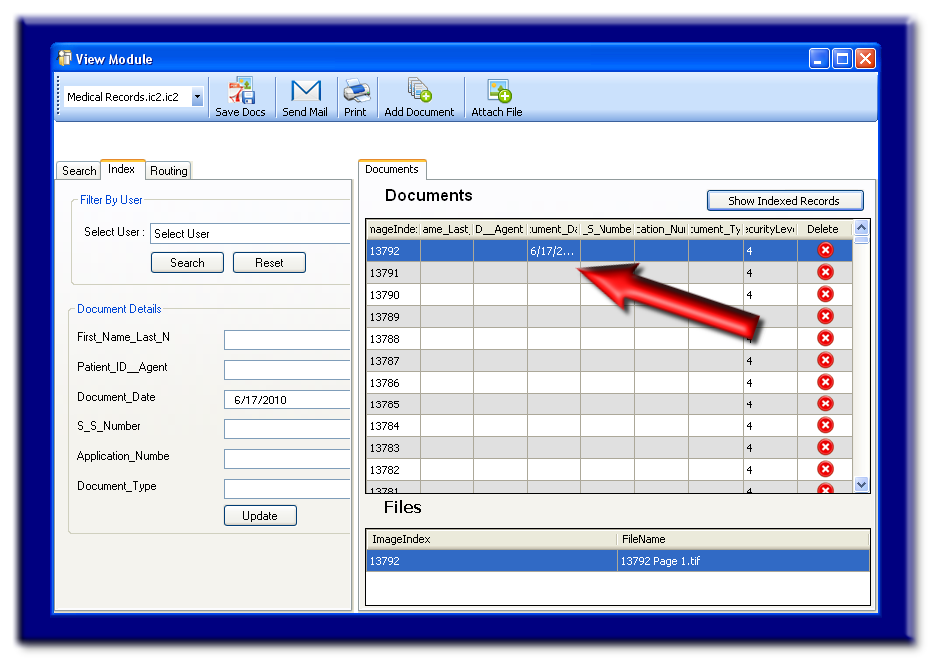
Select within the row containing the record you would like to index (see image 4).
STEP 5
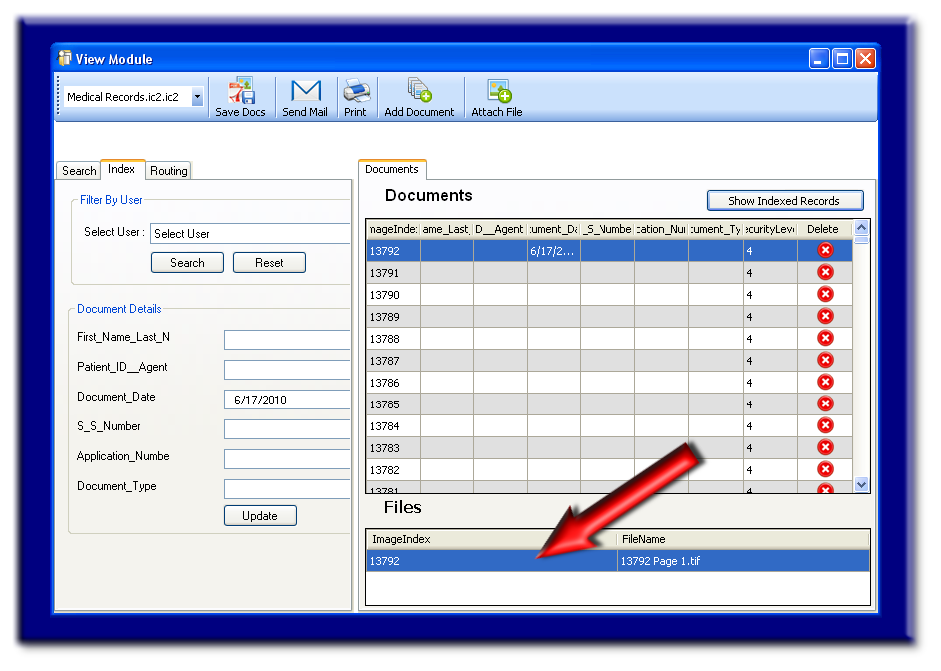
If needing to view the document in order to properly classify. double click within the first row located in the Files Viewing Area (see image 6).
STEP 6
Begin inputting data and selecting drop down options pertaining to this electronic file (see image 5).
STEP 7
After all appropriate fields are entered, select the "Update" button found directly under the last (bottom) index field (see image 7).
IMAGE 1
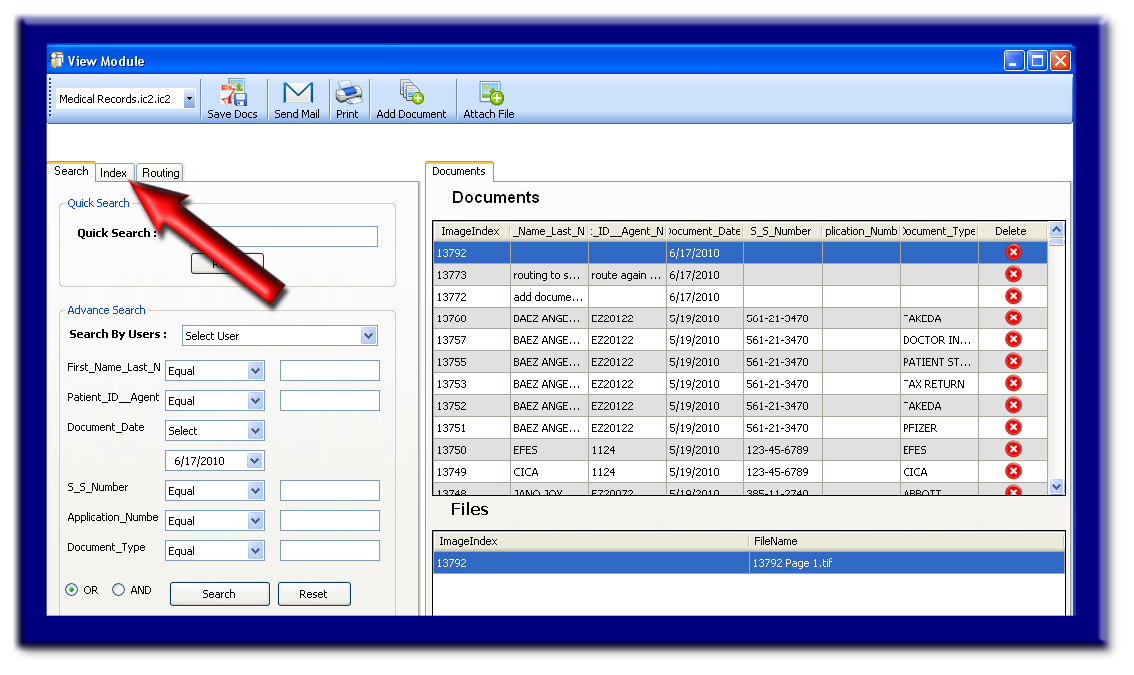
IMAGE 2
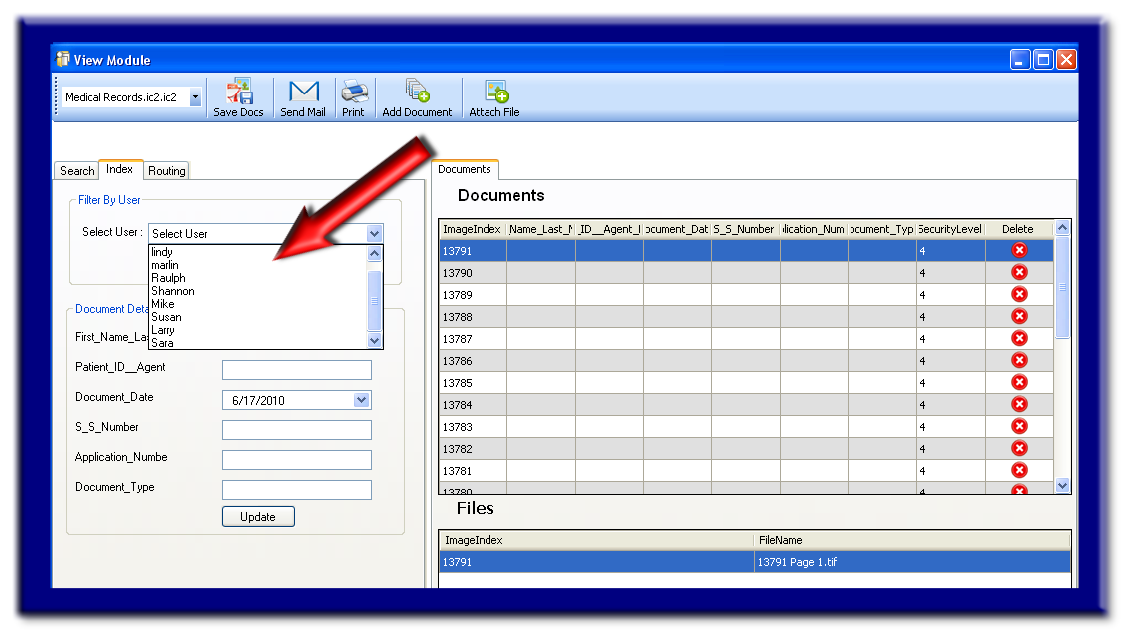
IMAGE 3