After clicking finish (IMAGE 9) you may need to close out the first screen (IMAGE 3).
IMAGE 1
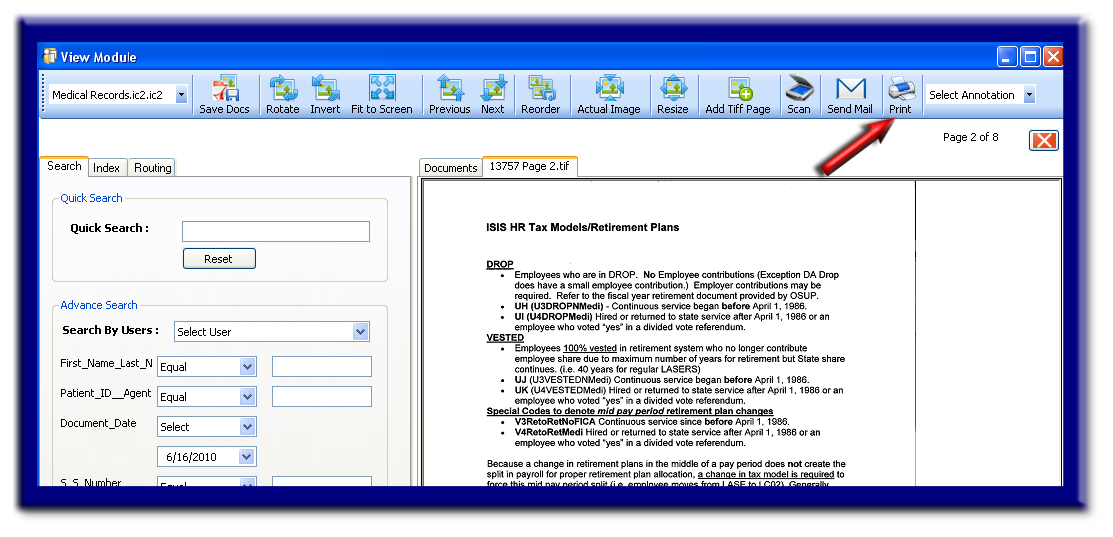
IMAGE 2

IMAGE 3
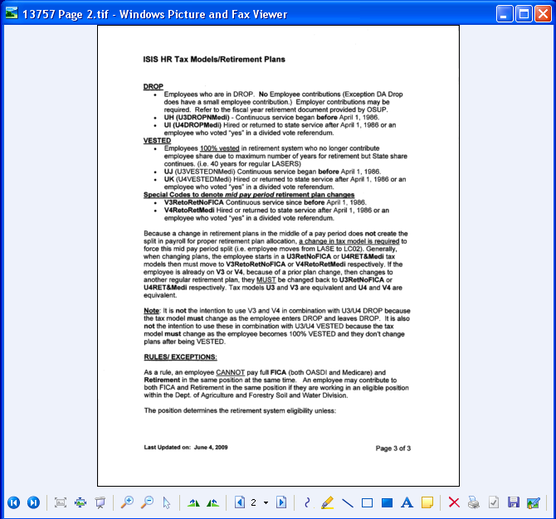
IMAGE 4
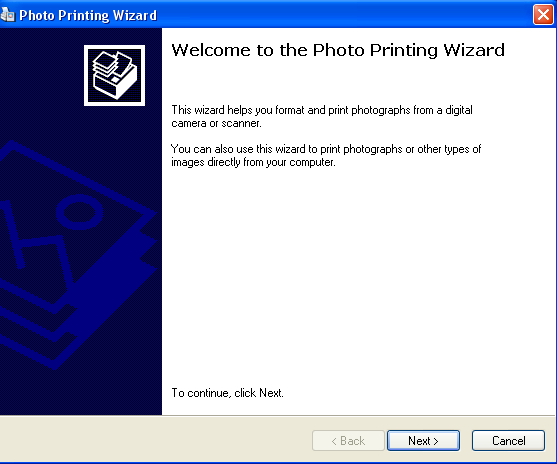
IMAGE 5
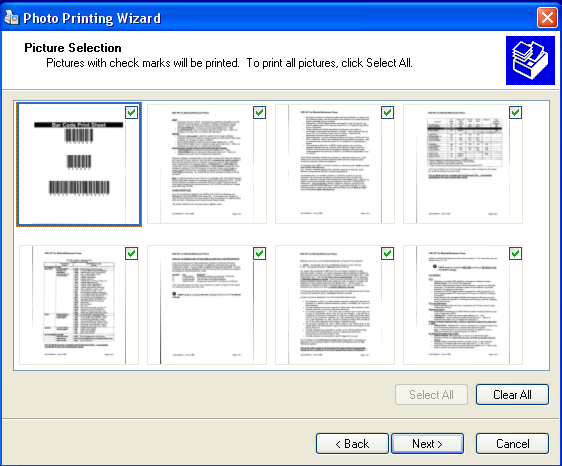
IMAGE 6

IMAGE 8

IMAGE 9

Fax
If you are unable to perform the features described in this section, you may have not received "user rights" to do so. You must contact the IMS administrator of your organization for further information concerning this matter.
REQUIREMENTS: 3rd Party Hardware and/or Software. Basically, you will be printing to a fax print driver. You may use a fax board installed on your computer (typically less than $200), fax server, or even an internet service solution.
Please consider the following:
Option 1 (print file) (ie: print to fax entire document)
STEP 1
After selecting the Tiff image to be printed, click the Print button (see IMAGE 1).
STEP 2
A box appears. Select the "File" radio button and then the Print button (see IMAGE 2).
STEP 3
A MS Windows screen will appear, which is the MS Windows Picture & Fax Viewer. You may choose from the list at the very bottom of the screen to make any changes or take a closer view of the images. Once any changes have been made, if any, you will need to click the Printer icon (bottom of page, 4th icon from the left, looks like a printer). (see IMAGE 3)
STEP 4
A MS Photo Printing Wizard appears (see IMAGE 4).
Follow the prompts within the wizard, allowing you additional print options. (Image 4 through 9). There may be variances as what screens and options you might see from one print job to the next.
NOTES:
STEP 5
After clicking finish (IMAGE 9) you may need to close out the first screen (IMAGE 3).
Option 2 (current file page) (ie: print to fax only page being viewed)
STEP 1
After selecting the Tiff image to be printed, click the Print button (see IMAGE 1).
STEP 2
A box appears. Select the "Current File Page" radio button and then the Print button (see IMAGE 2).
STEP 3
A MS Windows screen will appear, which is the MS Windows Picture & Fax Viewer. You may choose from the list at the very bottom of the screen to make any changes or take a closer view of the images. Once any changes have been made, if any, you will need to click the Printer icon (bottom of page, 4th icon from the left, looks like a printer). (see IMAGE 3)
STEP 4
A MS Photo Printing Wizard appears (see IMAGE 4).
Follow the prompts within the wizard, allowing you additional print options. (Image 4 through 9). There may be variances as what screens and options you might see from one print job to the next.
NOTES:
STEP 5
After clicking finish (IMAGE 9) you may need to close out the first screen (IMAGE 3).
IMAGE 1
IMAGE 2
IMAGE 3
IMAGE 4
IMAGE 5
IMAGE 6
IMAGE 8
IMAGE 9
See also