C - Batch Scan Process
STEP 1
Once you have scanned the pages, you will need to group them into documents.
STEP 2
Manual
If each document contains a different number of pages, select manual from the Create Documents: drop down (Image 5) and then click on the last page of the first document in the Image List. Be sure to select either PDF or Tiff, the preferred method would be Tiff.
For example, if you scanned 20 pages that make up 3 different documents, you will see 00000.tif – 00019.tif in the image list. If the first document is two pages long, you will click the second image (00001.tif) and click Make Documents. When you click Make Documents, 00000.tif and 00001.tif will be made into one file and moved to the filing location. Then the remaining pages are moved up and renamed so you will now see 00000.tif – 00017.tif in the image list. If the next document is ten pages long you will click the tenth image (00009.tif) and click Make Documents. The remaining pages are moved up and renamed. The image list now contains 00000.tif – 00007.tif. The last document contains all eight of the remaining pages, so you click the last image (00007.tif) and click Make Documents.
Numbered
If there is a set number to each document, select the quantity from the Create Documents: drop down (Image 4). For instance, if all the scanned documents in the list are all 3 pages long, you may select 3 so that every 4th page in the list is the first page of each document.
For example, if you scanned ten documents and each of them are two pages long, you will select 2 from the Pages/Doc: drop down and click Make Documents. 00000.tif and 00001.tif will be made into one file and moved to the filing location. Then 00002.tif and 00003.tif will be made into one file and moved to the filing location. IMS will continue doing this automatically until all the pages in the image list are made into documents.
Separator Pages
In some cases, separator pages become a great tool for mass scanning random quantities of documents. This process could become a great system within a multiperson or multi-department environment.
First, place a separator sheet in-between each document. When placing documents into the scanner, feel free to place as many pages the document feeder can handle at one time. You do not have to find the beginning and end of each document to be scanned individually.
Second, begin scanning documents. Depending on the quantity of documents being scanned, you may want to review scanned documents for accuracy or any errors per each scan job.
Third, after confirming accuracy and making improvements of scanned images, select the Separator Page Tiff or PDF drop down option under Create Document (image 4).
NOTE: IMS will automatically know the beginning and end of each set. IMS will automatically remove the separator page from the documents once the Make Documents button is selected (reference step 4 below).
STEP 3
At some point early in your scanning process or at this very last point, you will need to be careful as to selecting the relevant profile. This must become habit for you, or frequent mistakes of sending scanned images to the wrong profile will occur. If you did accidently send scanned documents to the wrong profile, you will need security access to that particular profile, in order to retrieve and delete. You will also need to re-scan these documents into the correct profile.
STEP 4
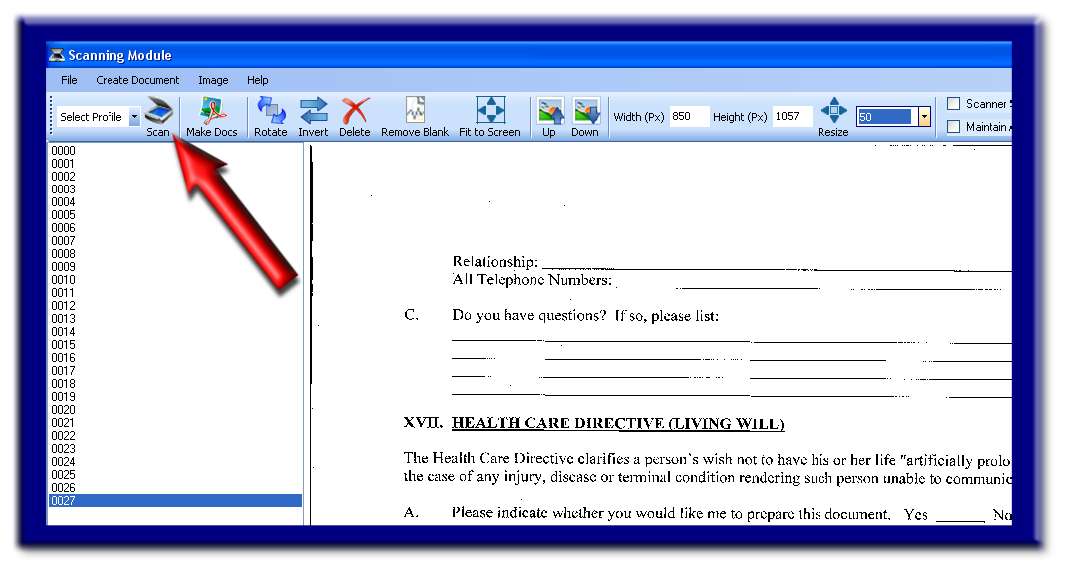
Now click Make Documents (image 6).
You have successfully scanned a document into a profile using the Batch Scan Module.
NOTES:
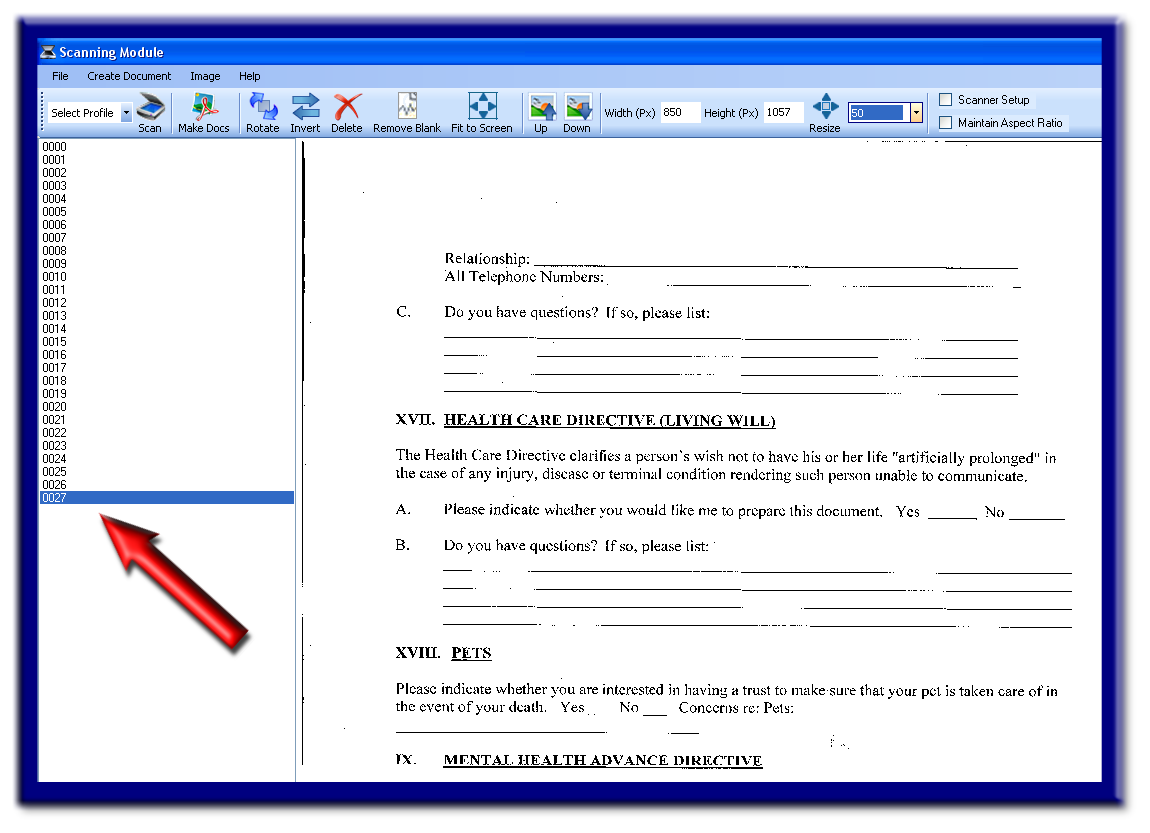
IMAGE 1
IMAGE 2
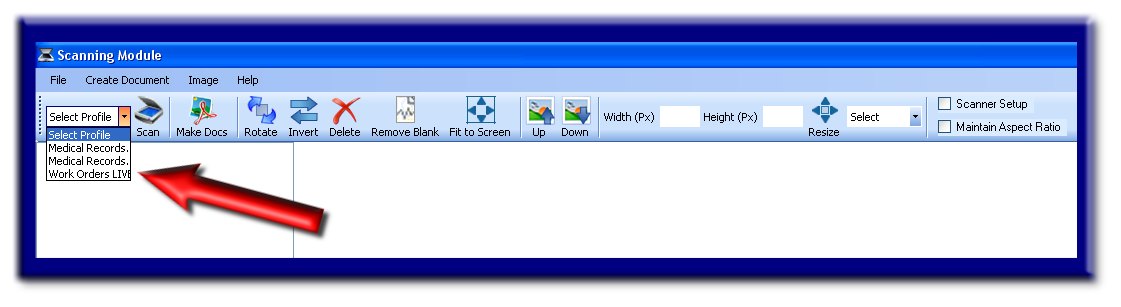
IMAGE 3
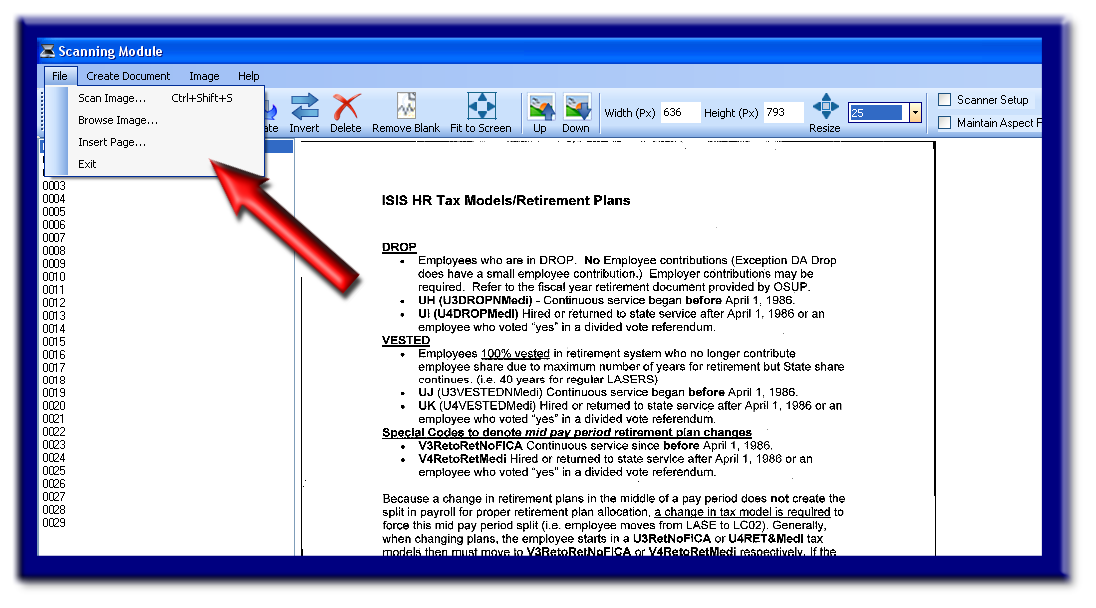
IMAGE 4
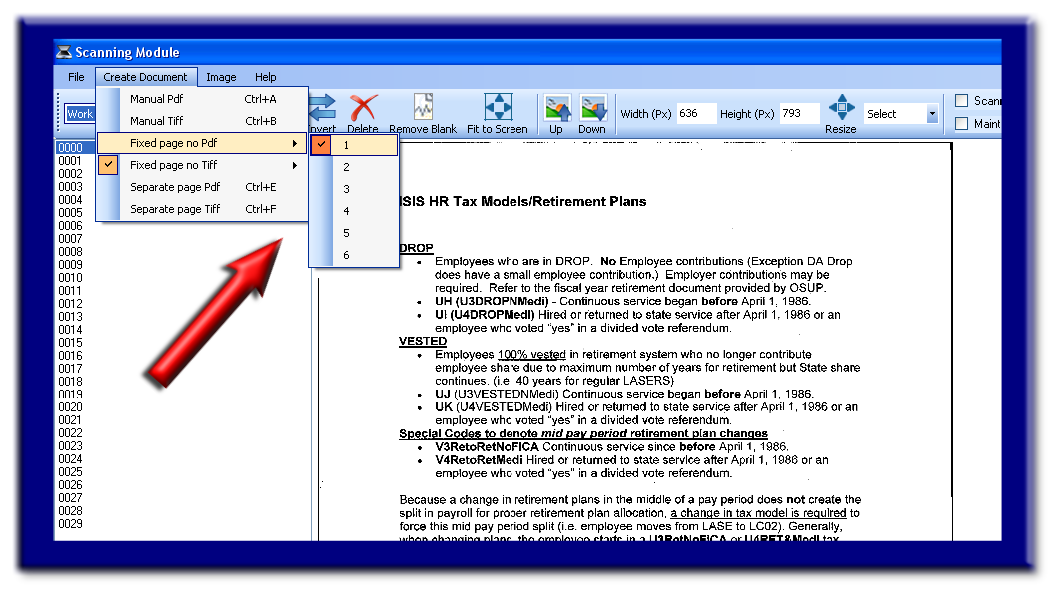
IMAGE 5
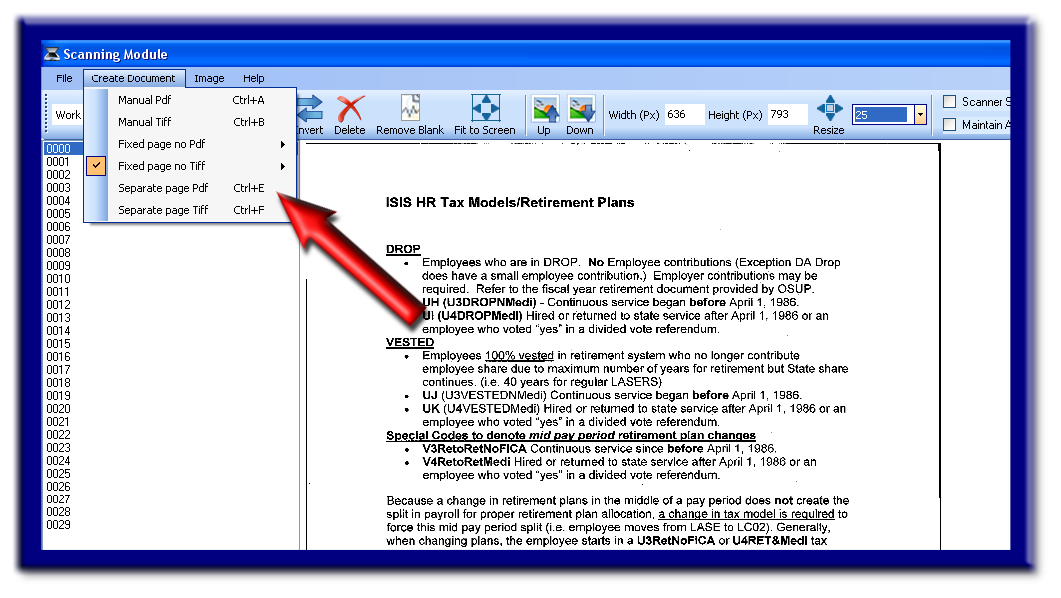
IMAGE 6
See also